
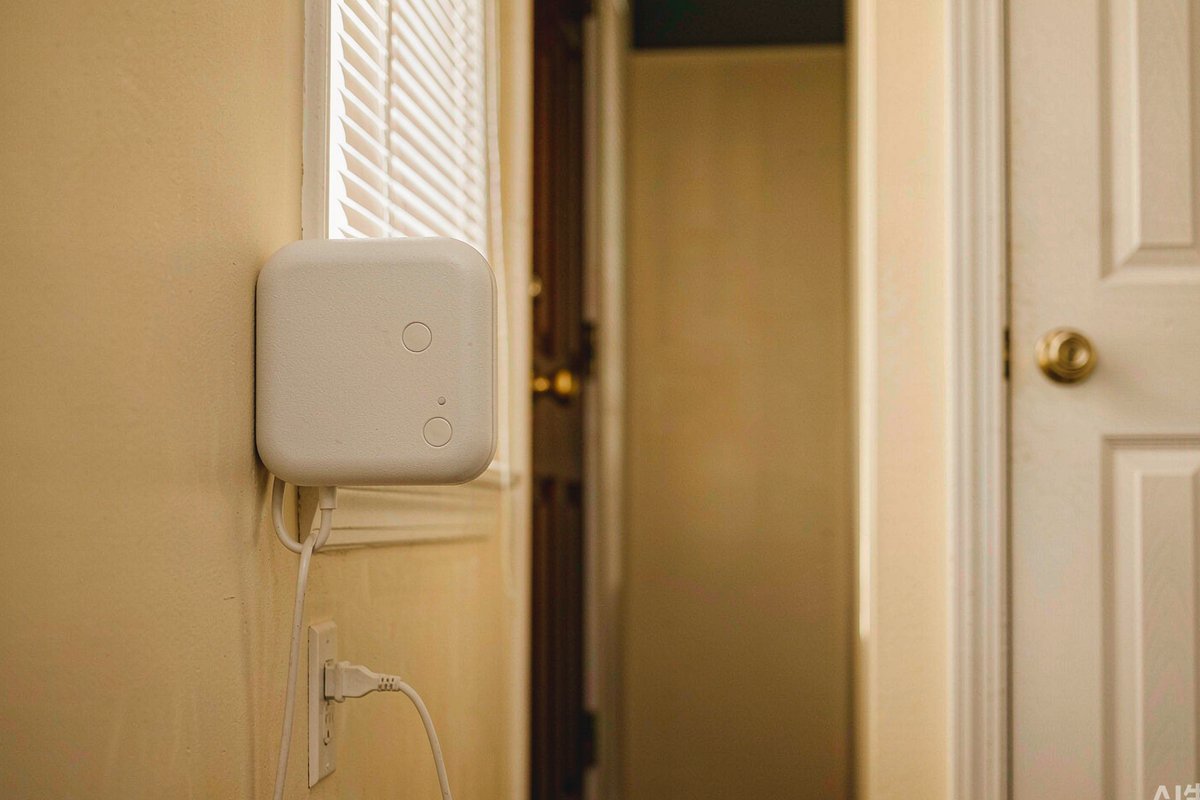
Almost every carbon monoxide alarm has a button on the front labeled TEST. Most people press it once a year when they change the clocks, hear a beep, and file the whole thing under "handled." The uncomfortable part is that this ritual proves far less than it appears to — and the gap between what people think they have verified and what they have actually verified is where most detector failures hide.
This guide covers what that button really exercises, four methods that are commonly recommended and do nothing useful, how a canned CO test differs, when a calibrated gas test is worth it, and a one-minute monthly routine that catches the failures that matter. It is general safety education, not a substitute for the instructions that came with your specific unit.
What the test button actually proves
Press TEST and the alarm sounds. It is easy to read that as "the detector works." What it actually confirms is narrower:
- The battery or power supply can deliver current. The unit has enough stored energy to run its own circuitry and drive the horn.
- The horn or piezo sounder is functional. The output device is not broken or disconnected.
- The internal self-check logic runs. On many units, pressing TEST triggers a simulated fault condition and confirms the firmware responds to it.
What it does not confirm is the part that does the actual work: whether the sensing element still responds to carbon monoxide. A sensor can be aged, poisoned by contaminants, or drifted well outside its stated tolerance while the unit still beeps cheerfully on command. The button tests the alarm's ability to make noise. It does not test its ability to detect gas.
That distinction matters more than it sounds, because electrochemical CO sensors degrade over time. If you want the replacement-side of that story, we covered it in How Long Do CO Detectors Last?.
A monthly routine that takes about a minute
Once a month, walk the same path through the house. Doing it on a fixed day — the first Saturday, payday, whatever sticks — is worth more than doing it thoroughly but irregularly.
- Press and hold TEST on every unit, one at a time, until the alarm sounds. Count them. If you own four and only three sound, you have found a problem.
- Listen to the pattern, not just the presence of sound. A single short chirp repeated on an interval is not a test response — it is usually a low-battery or end-of-life signal. The pitfall is that pressing TEST on a unit that is already chirping gives you noise either way. We broke down the full set of patterns in CO Detector Beeping: What Every Pattern Means.
- Check the power source while you are there. For plug-in units, confirm the outlet is live and the unit is fully seated. For battery units, note the date you last replaced it.
- Look at the indicator light. Most units pulse an LED on a normal cycle. A steady red, an absent pulse, or a color you have not seen before belongs in the manual, not in your assumptions.
- Write the date down. A marker on the unit's back or a note in your phone is enough. The record is what turns "I think I tested it recently" into something you can actually rely on.
For households where the detectors are at ceiling height or behind furniture, this is also the moment to re-check mounting — a unit that is hard to reach is a unit that stops getting tested. Placement guidance is in CO Detector Placement & Height.
Four "tests" that do nothing
This is where the internet is genuinely unhelpful. These four methods circulate constantly and none of them verifies CO detection.
Running a car in the garage. This introduces carbon monoxide, which sounds like a test — but the concentration is uncontrolled, the exposure is real, and you are creating the exact hazard the device exists to warn you about. If the alarm goes off, you have learned something. If it does not, you have learned nothing, because you have no idea what concentration the sensor actually saw. Never do this.
Holding a lighter or stove flame near the unit. A flame produces carbon dioxide and water vapor, and only trace CO under normal combustion. You are testing whether the detector responds to heat and humidity, which is not the question.
Hairspray, cleaners, or aerosol sprays. Some solvents can contaminate or permanently damage an electrochemical sensor. At best this is a no-op; at worst you have shortened the sensor's usable life. Several common household chemicals are on the list of things that cause false alarms and bad readings.
Pressing TEST and stopping there. Already covered, but worth repeating in list form: this is the single most common way people believe they have tested a detector without having done so.
Canned CO test spray: what it adds
Canned test gas is a pressurized canister that releases a known concentration of carbon monoxide — typically in the range that trips an alarm within a minute or two. Used correctly, it is the only at-home method that exercises the sensing element itself.
How to use it well:
- Read the can's instructions first. Formulations and recommended exposure times differ. Follow the product, not a video.
- Use outdoors or in a well-ventilated space. You are deliberately releasing carbon monoxide. Do it where that is safe.
- Direct the short burst at the sensor vents, which are usually slots on the front or side — not the horn.
- Give it time. A real response may take 30 seconds to a few minutes. An immediate response is often a sign you are not reading a genuine sensing event.
- Ventilate afterward, and confirm the unit returns to its normal state. A detector that latches into alarm and will not clear is its own finding.
Canned spray answers the question the TEST button cannot: does the sensor still respond to CO at a concentration that should trigger it? It is worth doing once or twice a year rather than monthly.
Plug-in versus battery units: what changes
The routine above assumes nothing about how the unit is powered, but the power source changes which failure modes you are most likely to hit.
A battery-powered unit fails most often for the boring reason: a flat cell. That is why the monthly chirp exists, and why the "change the batteries when the clocks change" habit has survived so long — it addresses the dominant failure mode. The trade-off is that battery units are easy to place anywhere and easy to forget. A unit in a hallway ceiling that nobody walks under is a unit nobody tests.
A plug-in unit removes the flat-battery failure mode entirely, which is a real advantage. What it adds instead is dependency on the outlet. Two things are worth checking that battery owners never think about: the receptacle itself (a switched outlet that someone turned off, or a GFCI that tripped, leaves a unit that looks installed and is silently dead), and whether the unit has actually stayed seated — plug-in detectors get bumped by vacuums, furniture, and cords more often than people expect.
That is also why a plug-in unit with a visible display is easier to verify than one without. You are not inferring health from an LED pulse; you are looking at whether the screen is live and whether the reading is behaving. A blank screen is unambiguous in a way that a silent alarm is not.
If you are weighing the two configurations, Plug-in vs Battery CO Detector: Which to Buy? goes through the trade-offs in more depth. And if you want the version that removes the battery failure mode while keeping the reading visible, the VASAIKO HD16 is built for exactly that: plug-in primary power with a rechargeable backup cell, CO readings, right on the screen.
When a calibrated gas test is worth it
A professional test uses calibrated equipment to expose the sensor to a defined concentration and measure whether it responds within specification. This is standard practice for commercial and multi-unit buildings, and it is the reference method if you need documentation.
For a single-family home it is rarely necessary, with two exceptions: after a known exposure event where you want the surviving unit validated, and for rental properties where a landlord needs a record. If you are on the landlord side of that, Apartment CO Detector Law: Renters & Landlords covers the obligations side.
What a real alarm sounds like versus a test
This distinction gets missed in the moment, and the moment is when it matters.
- A test response typically stops when you release the button.
- A real alarm is a continuous, loud, repeating pattern — usually four short beeps followed by a pause — that does not stop when you press anything except silence or reset.
- A low-battery chirp is a single short sound, repeated every 30–60 seconds, often at night, and often mistaken for an alarm in progress.
- An end-of-life signal is a distinct pattern that varies by manufacturer, and it means replace the unit, not the battery.
If you cannot tell which one you are hearing, treat it as real until proven otherwise: get everyone to fresh air, then investigate. The ppm reference chart is useful context for what those levels mean once you are diagnosing rather than reacting.
Why a visible reading changes the test
Here is the practical difference a display makes. With a conventional alarm, the only feedback you get is binary — silent or sounding. You cannot observe the sensing element working under normal conditions; you can only wait for it to shout.
A unit that shows the live reading gives you continuous, low-stakes confirmation that the sensor is alive and responding. You see it settle after the ~60 second warm-up. You see it sit at a baseline. You see it move when something actually changes, which is how you find out whether it moves at all. That turns testing from an annual event into something you notice in passing.
That is the entire design argument behind the VASAIKO HD16 — CO readings, right on the screen. It is a plug-in, display-equipped monitor intended as a second layer alongside your existing alarms, not a replacement for them: 0–999 ppm range, readings refreshed every 2 seconds, a color-coded display that shifts from green through amber to red as concentration climbs, and a 1000 mAh rechargeable cell that keeps it running for roughly 8 hours when it is unplugged. It is tested to UL 2034, UL 1484, and UL 217 standards, and it is CE & FCC Certified and RoHS Compliant.
Because it covers more than CO, one device also consolidates what would otherwise be several: CO and combustible gas detection, smoke, plus temperature and humidity on the same screen. If you are deciding between configurations, our CO & gas detector buying guide walks through the trade-offs.
FAQ
How often should I test my carbon monoxide detector?
Monthly is the standard recommendation for the button test. Add a canned CO spray test once or twice a year to exercise the sensor itself.
Does pressing the test button mean the sensor works?
No. It confirms power, the sounder, and the self-check logic. It does not confirm the sensing element still responds to carbon monoxide.
Can I test it with car exhaust?
No. You are creating an uncontrolled, genuinely dangerous exposure and learning nothing reliable either way.
My detector beeps once every minute. Is it alarming?
Probably not. A single repeated chirp is most often low battery or end of life. Check the manual for your unit's specific pattern rather than assuming.
When should I replace the unit instead of testing it?
Most CO alarms have a service life in the 7–10 year range, marked on the unit. Past that, replace it regardless of how it behaves on test.
Does a display replace the need to test?
No, but it makes the sensor's condition observable between formal tests, which is how you catch drift early rather than at the moment it matters.
The one-minute version
If you take nothing else from this page: press TEST on every unit monthly and count them; stop using exhaust, flames, and aerosols as test methods; run a canned CO test once or twice a year to exercise the sensor for real; and replace units at end of life whether or not they still beep on command.
If you want a layer that shows you the reading rather than only the alarm, see the VASAIKO HD16 — CO readings, right on the screen, backed by a 2-year warranty. For homes with attached garages, workshops, or fuel-burning appliances, the room-by-room breakdowns in Home Gas Leak Detector and Garage CO Detector are the natural next read.